

Introduction — A Shop-Floor Moment
I remember the day a rush order hit our little shop and every machine seemed to conspire against us: a chatter here, a stuck tool there. By noon we’d lost three hours to minor stops, and the client was breathing down our necks. CNC turning and milling machine tools were supposed to speed things up; instead, we were firefighting (sound familiar?). Recent shop-floor benchmarks I track show small shops lose up to 8–12% of productive time to avoidable setup and tool issues — that’s real revenue on the floor. So how do we stop reacting and start designing systems that actually hold up under pressure? Let’s walk through what I’ve learned, step by step, and see what changes matter most.
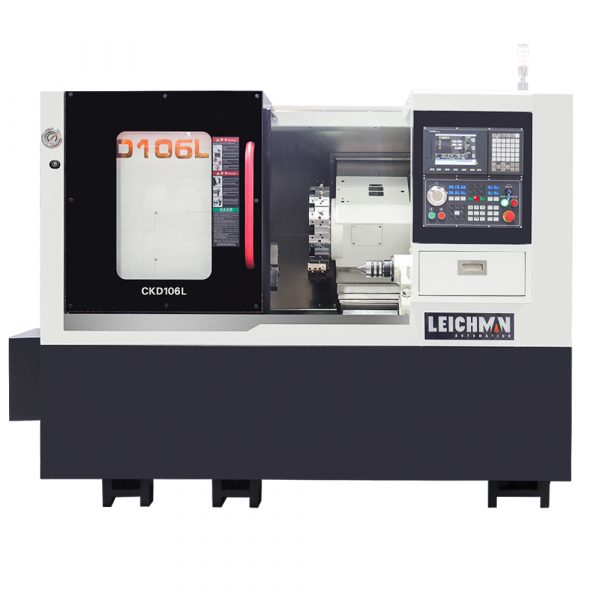
Where Traditional Fixes Break Down
cnc milling and cnc turning shops have leaned on the same band-aids for years: tighter tolerances, faster spindles, and more frequent tool swaps. On paper, that looks sensible. In practice, the workarounds hide deeper flaws. For example, cranking up spindle speed without addressing imbalance or poor fixturing just trades one problem for vibration and premature tool wear. I’ve seen setups where the tool changer becomes the bottleneck because no one rethought tool-path grouping. That’s why I say — look, it’s simpler than you think — the root is often process mismatch, not a single part’s specification. Industry terms: spindle speed, tool changer, coolant system.
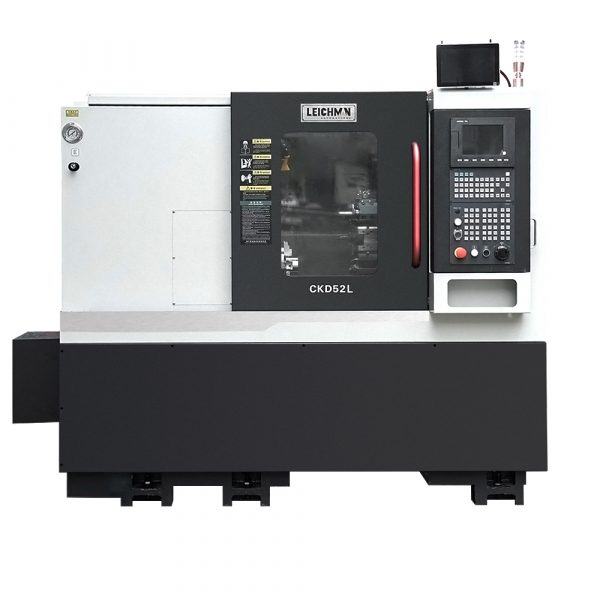
Why exactly do older setups fail?
Older setups assume repeatability without accounting for daily variation: heat build-up, operator shifts, and slight fixturing creep. Those variables affect surface finish and tolerance more than raw horsepower does. I’ll be blunt: investing only in a higher-powered servo motor or a new turret won’t fix an unstable workflow. You must pair mechanical upgrades with process controls — fixture checks, adaptive feeds, and a simple habit of logging stalls. When shops add sensors like speed encoders or monitoring on the coolant system, they often find the real savings aren’t in cycle time but in avoiding scrap. That’s a shift many miss because it requires a small cultural change — consistent checks — rather than just capital spend.
New Principles and Choosing Better Machines
Okay — forward-looking time. When I evaluate upgrades, I lean on principles that favor reliability over headline specs. Think modular tooling, real-time feedback (closed-loop servos), and smarter CAM strategies that reduce tool changes. One practical starting point is rethinking part family grouping in your CAM so the tool changer isn’t jumping back and forth. Another is integrating basic sensors to watch spindle load and coolant flow; those signals tell you more than a single operator’s note ever will. If you’re shopping, consider a heavy duty cnc lathe that balances rigidity with accessible maintenance points — it pays back in uptime.
What’s Next: practical steps?
Start small: pilot a single line with adaptive feeds and one predictive sensor. Track a handful of KPIs for a month — spindle load, tool life, and setup time — then tweak. I prefer semi-formal checklists: daily fixture check, weekly tool-life review, monthly CAM nesting audit. Over time, you’ll see fewer surprise stalls and more consistent part quality. — funny how that works, right? The goal isn’t perfect automation; it’s a resilient workflow that lets people and machines work together. Industry terms: CAM, feed rate, fixture.
To close, here are three practical metrics I recommend when choosing upgrades: 1) Mean Time Between Failure (MTBF) for key components; 2) Real-world cycle time under mixed-part runs; and 3) Tool-change time under load. Use these to compare vendors and build a shortlist. I’ve audited shops that chose the flashiest spec sheet and another that picked the more measured option — the quieter, more practical machine won out every time. If you want a starting point, check equipment tested for both load and uptime by proven brands like Leichman. I’ll be honest: the right choice saves headaches, but it takes thinking beyond just speed.
