

Why prints go wrong (and how to stop blaming the machine)
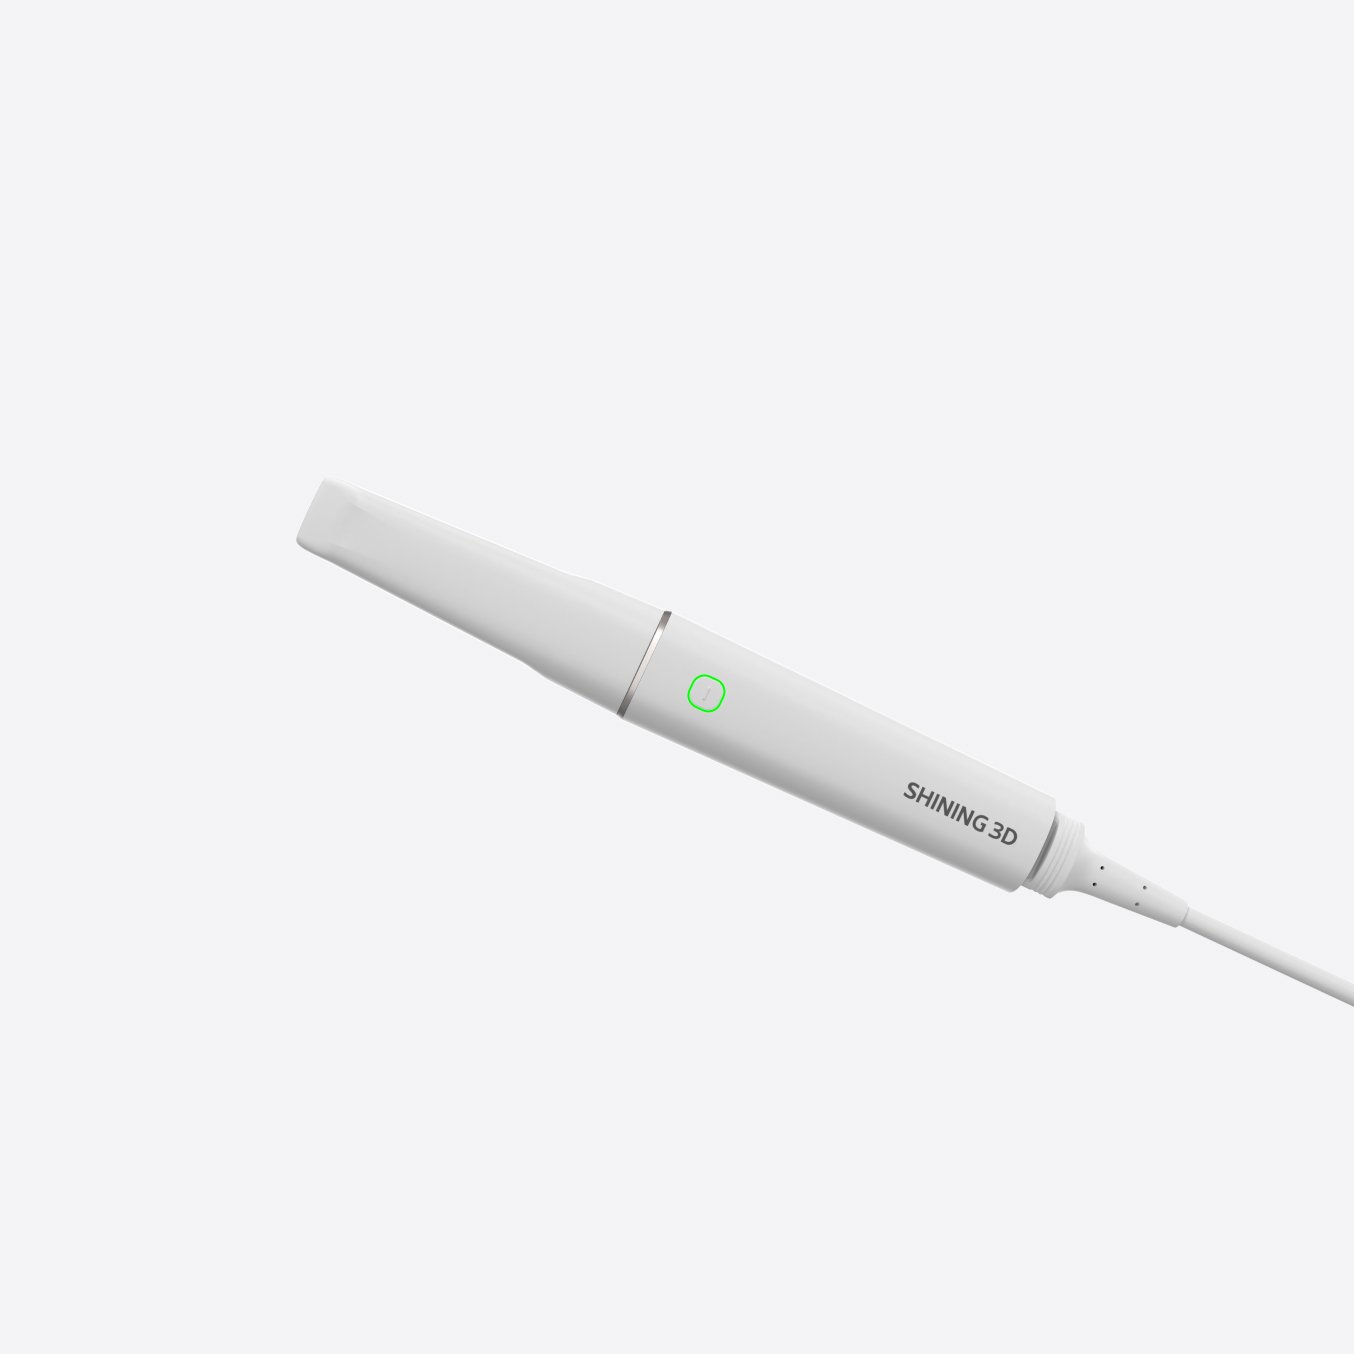
Prints fail. Warping, layer delamination, sticky parts — the usual suspects. Start by treating each failed print like a clue, not drama. Often the issue begins before the resin even touches the build plate: messy scan data, bad orientation, or a rushed wash. I normally pull scans straight from an intraoral scanner into the slicer and that step alone can introduce tiny artifacts that cascade into big print problems.

Quick triage: fast checks that save hours
Look at five things first: resin temperature, vat clarity, build plate adhesion, file integrity, and machine firmware. If a print peels off after a few layers, check vat debris and the build plate surface. If whole layers misalign, suspect mechanical play or a corrupted print file. Don’t reprint immediately — fix the root and then run a small test print.
Daily, weekly, monthly: a simple maintenance rhythm
Daily — clean the build plate and inspect the vat for cured bits; top up resin and note batch numbers. Weekly — level or zero the build plate, deep-clean the vat and light source window, and inspect lead screws and rails for resin spray. Monthly — check belt tension, run motor current diagnostics if available, and replace the vat film when you see micro-scratches. Keep a short log: date, what you did, printer hours. Logs stop guesswork when failures repeat.
Calibration, software, and file prep that actually help
Calibrate the Z axis after maintenance and whenever prints start showing consistent layer offsets. Update firmware and slicer one at a time; don’t change both at once — that’s how you lose track of causes. Slice at conservative exposure settings first and dial down only if surface detail suffers. Use support density and placement deliberately: too few supports = warps; too many = wasted time and harder cleanup.
Resin handling and post-processing rules that matter
Shake bottles or mix in a controlled way; don’t introduce bubbles. Filter resin returning to the bottle to avoid cured particulate contamination. Rinse prints in clean IPA (or recommended solvent) with a two-bath approach — first bath to remove bulk resin, second bath to tidy up. Cure under even light and avoid stacking parts during post-cure. Store sealed resin at recommended temp away from sunlight and label every opened bottle with date and exposure history.
Common mistakes people make and quick fixes
People skip small tests. They run full-arch prints without validating new resin, orientation, or support strategy. Fix: run a 10–15 mm calibration object first. Another mistake is treating the vat like a permanent fixture — a scratched film silently kills detail. Replace the film proactively. Finally, relying solely on auto-support without inspection wastes material; hand-adjust supports for critical margins or thin posts.
Troubleshooting checklist you can print and pin
Start with environmental factors: temperature, humidity, light exposure. Then move to mechanical checks: belts, screws, rails. Next inspect consumables: vat film, resin age, build plate coating. Verify software: file integrity, slicer version, exposure settings. Finish with a controlled test print and compare dimensions to a known-good benchmark to confirm stability.
Quality control metrics and how to run them
Use simple, repeatable metrics: dimensional accuracy (mm), surface roughness by visual grade, fit checks on analog models, and post-cure hardness if you can measure it. Run the same standard test object weekly and record results. Trending a small set of numbers reveals drift before obvious failures. Follow recognized device quality norms like ISO 13485 for recordkeeping and change control to support traceability.
What I learned from a small Boston lab — one plain example
At a small Boston dental lab I worked in, a batch of crowns kept showing marginal gaps. The culprit turned out to be a routine: techs were pouring used IPA back into the solvent container to “save costs.” Once they switched to fresh solvent and started filtering returned resin, the gaps disappeared. That lab integrated scans from a digital dental scanner into the workflow, which helped pinpoint whether failures began at scanning or later in the print process.
Final synthesis — practical value you can use
Treat every failure as a diagnostic run: record what changed, run a small test, and fix the simplest part first. Keep maintenance short and regular, handle resin deliberately, and use a stable scan-to-print workflow. Over time those small habits cut reprints and save trust with clinics and patients, which is exactly the approach I’ve found works best with partners like SHINING 3D DENTAL.