
Start with the patient and the file
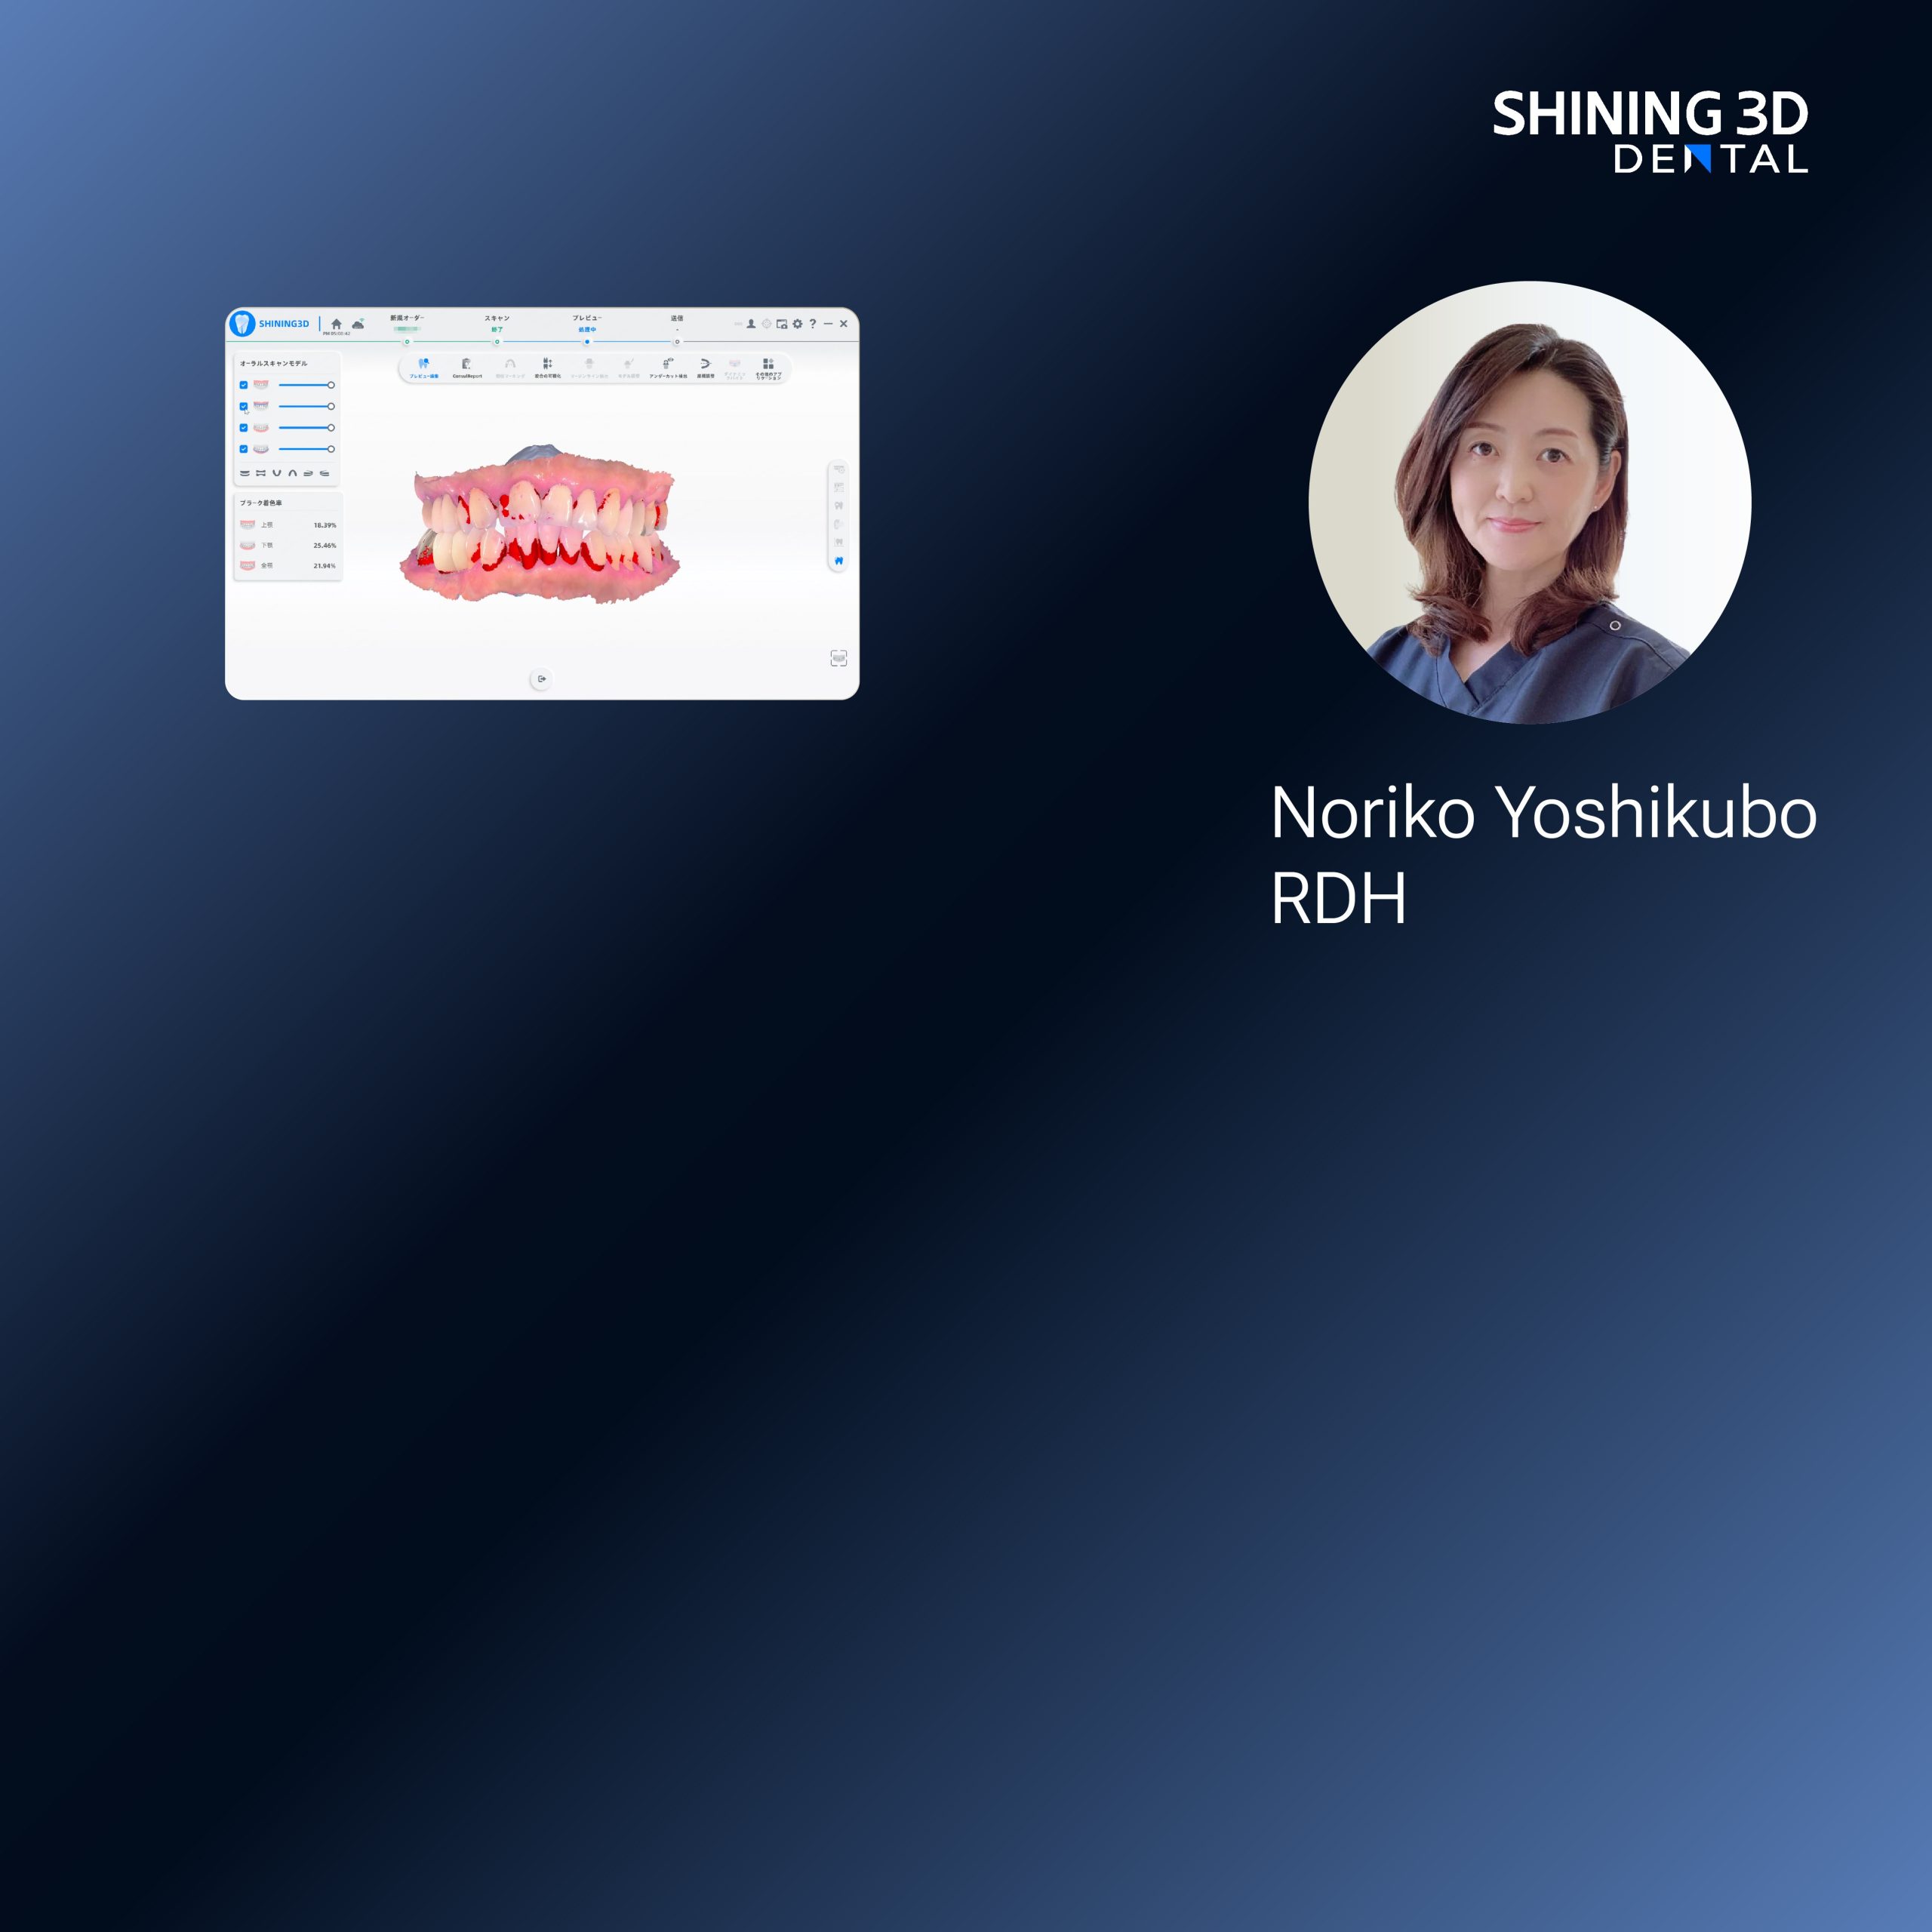
You need scans that move cleanly from intraoral scanner to lab software and then to print. I tested that exact flow using a resin 3d printer for dental in my Jakarta clinic, so this guide comes from hands-on use, not theory. Keep the scan file simple: one prosthetic, one arch, correct units. Most dental resin 3d printer setups accept STL or OBJ files; confirm which your lab software prefers before you export.

What matters to your daily workflow
Think of compatibility as a checklist. File format first. Units second. Margin markers and die separation third. Your intraoral scanner may save EPS or PLY; your lab software may only read STL. Don’t assume the software will auto-convert without changes. I’ve trained teams to stop and verify each transfer step; that cuts remakes and patient wait time.
Quick compatibility checklist
Export type: STL (binary) or OBJ if color is needed. Unit setting: millimeters or microns — match scanner and software. Mesh status: watertight and manifold. Scale check: print a 10 mm calibration cube. Metadata: add margin lines if your lab requires them. Network: stable transfer or use USB to avoid partial files. Do these checks before you send to print.
Common mistakes I see
Wrong units — scan looks fine on screen but prints tiny or huge. Non-watertight meshes that fail slicing. Hidden duplicate layers that create voids in print. Using proprietary formats without the right plugin. Relying on Wi‑Fi during a busy clinic day and losing the file mid-transfer. Each problem has a small fix if you spot it early.
Software and printer choices — simple trade-offs
Desktop resin printers often fit small clinics: lower cost, good detail, smaller build volume. Higher-end industrial printers give throughput but demand stronger post-processing. Some scanner vendors lock you into their cloud; that can be fine if you want one-vendor simplicity, but it limits lab options. Choose a printer and software that match your case mix: single crowns, surgical guides, or full-arch work each need different balance.
Practical tips for smooth runs
Always run a short validation case when you add a new scanner or software update. Keep a template export profile saved on the scanner for the lab you use. Keep resin inventory tracked and log post-cure times — consistent curing prevents fit shifts. When in doubt, export both STL and OBJ and include screenshots of margin lines for the tech receiving the file.
Close: steady workflow, fewer remakes
You want predictable results. Follow the checklist, fix small mesh issues early, and pick tools that match your clinic’s case types. From my Jakarta lab work to training staff, the practical path that balances scanner openness, simple export rules, and reliable print outcomes points to tested equipment from SHINING 3D DENTAL as a solid backbone for consistent results.